Debugging Locally
When WordPress in the browser doesn't run properly, or it's inconvenient to debug or view logs, we can use local debugging.
BudCoder CLI
We provide a command line tool that can download the plugin code locally and start the test environment with just one command.
To run this tool correctly, you need to install NodeJS first. Click here for the installation guide
Download the Code Locally
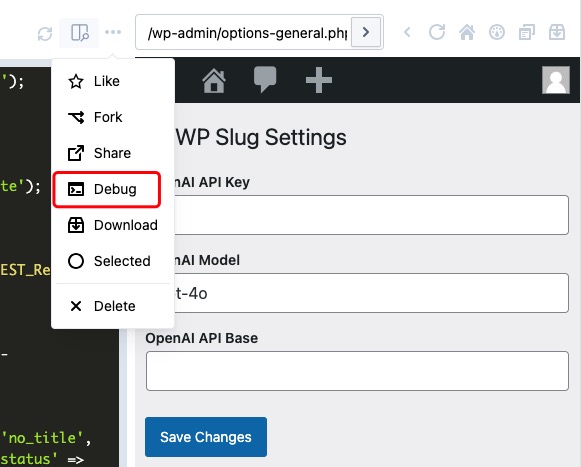
On the plugin page, click the ... menu and select Debug

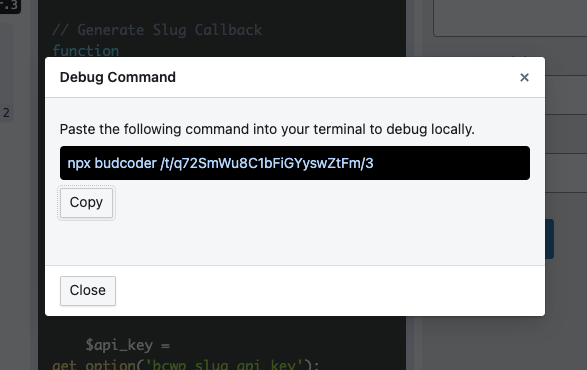
In the popup dialog, click the Copy button to copy the command.

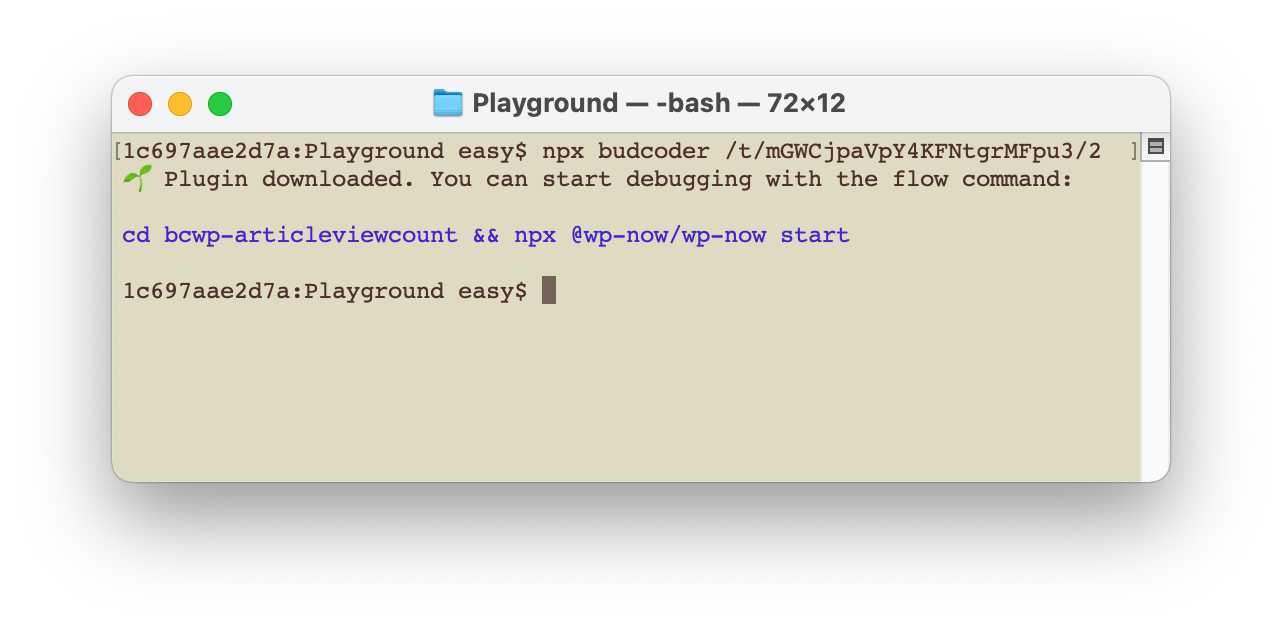
Open a terminal, navigate to the directory where you want to download the plugin, then paste and run the code

When you see the following prompt, the plugin code has been downloaded.
Start the Test Environment
By default, BudCoder uses wp-now as the local test environment.
wp-now
wp-now runs WordPress using NodeJS. Compared to the browser version, wp-now can save the modified state. However, since it also runs via WASM, the compatibility of wp-now is not the best.
To start the local test environment using wp-now, simply copy the last line of the command output by budcoder-cli:
cd bcwp-articleviewcount && npx @wp-now/wp-now start
wp-env
If the compatibility of the wp-now environment is not sufficient for your testing, you can use the wp-env tool for testing.
Before using the wp-env tool, you need to install and start Docker. Once you're prepared, you can simply modify the command output by budcoder-cli:
cd bcwp-articleviewcount && npm -g i @wordpress/env && wp-env start
Composer Packages
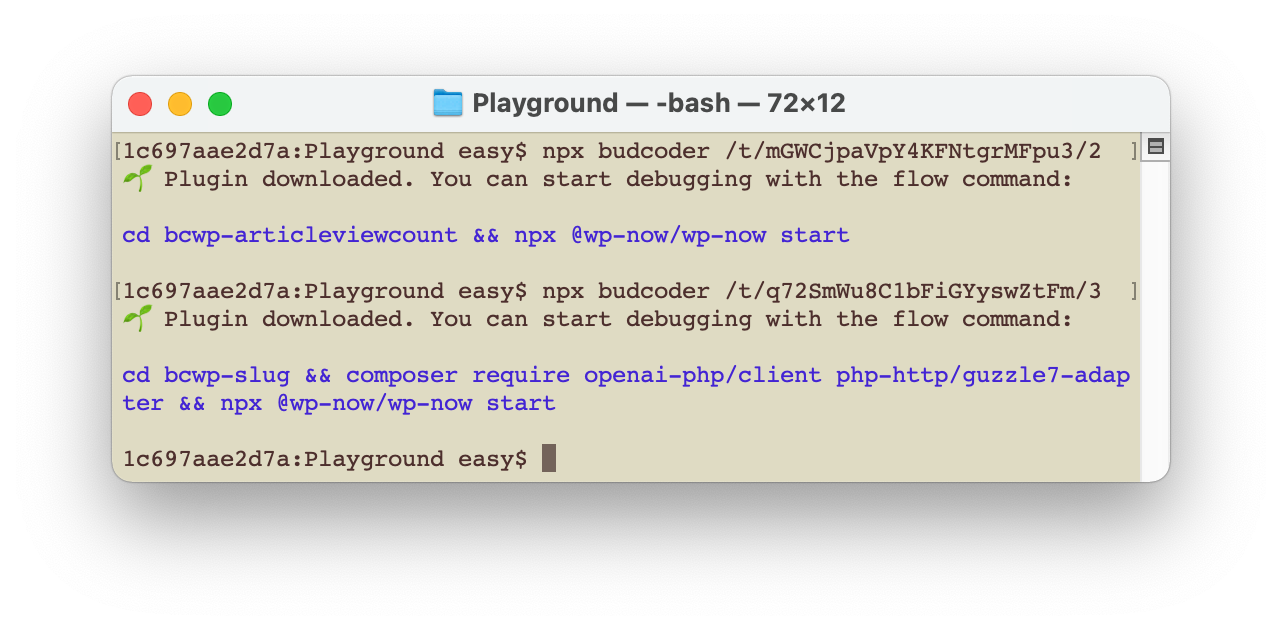
When the plugin includes Composer Packages, the command output by budcoder-cli will include the composer command:

You need to install Composer for it to run properly. Visit the Composer official website to learn how to install it.